How to Add a Table to WordPress (Easy to Use Drag & Drop Builder)
In this post, I’ll show you how you can add a table to your WordPress website.
It’s going to be super fast and easy.
It can be used for many things such as a product comparison table or as a way to display information which allows your viewers to easily understand the data. E.g. simple pros and cons, pricing table, timetables or even a sports ladder.
Unlike many others I’ve used in the past – This is Drag & Drop, so it’s very easy to customize and setup since it’s visual.
Follow the video above to step by step instructions or follow below for the text instructions.
Let’s get into it!
Step 1: Install & Activate a Plugin called “WP Table Builder”

WP Table Builder is a drag-and-drop table builder that brings the simplicity and power of page builders for tables.
Step 2: Add New Table
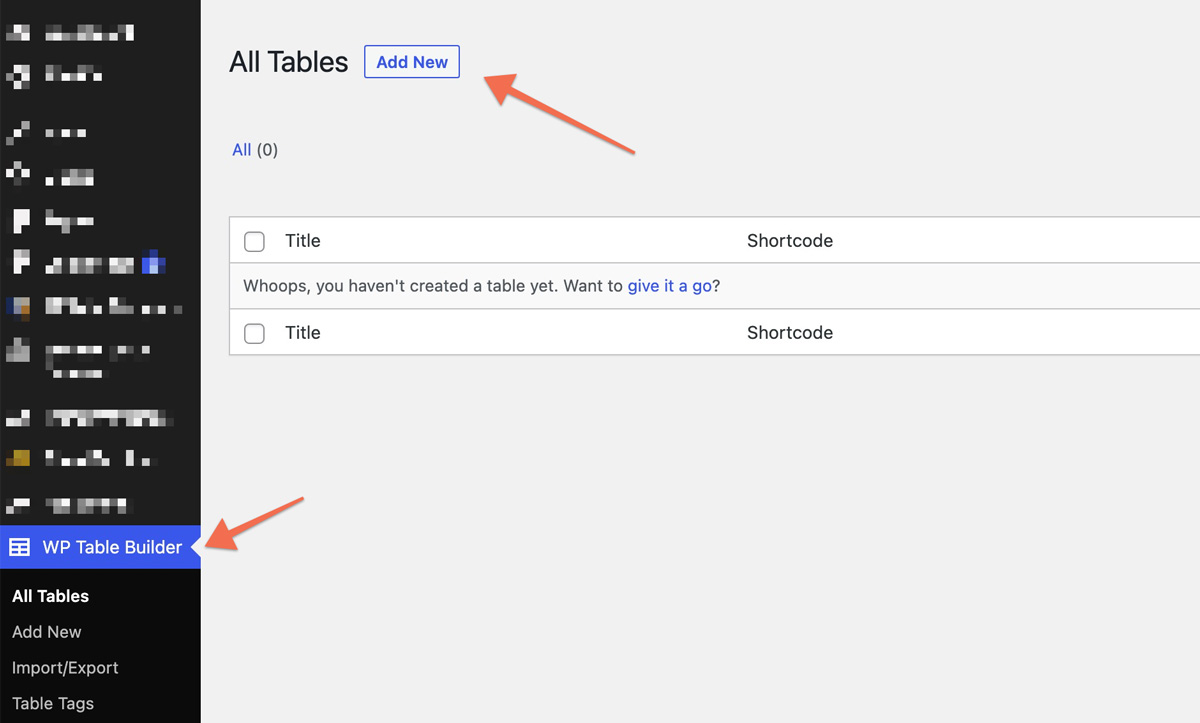
Step 3: Add Columns & Rows
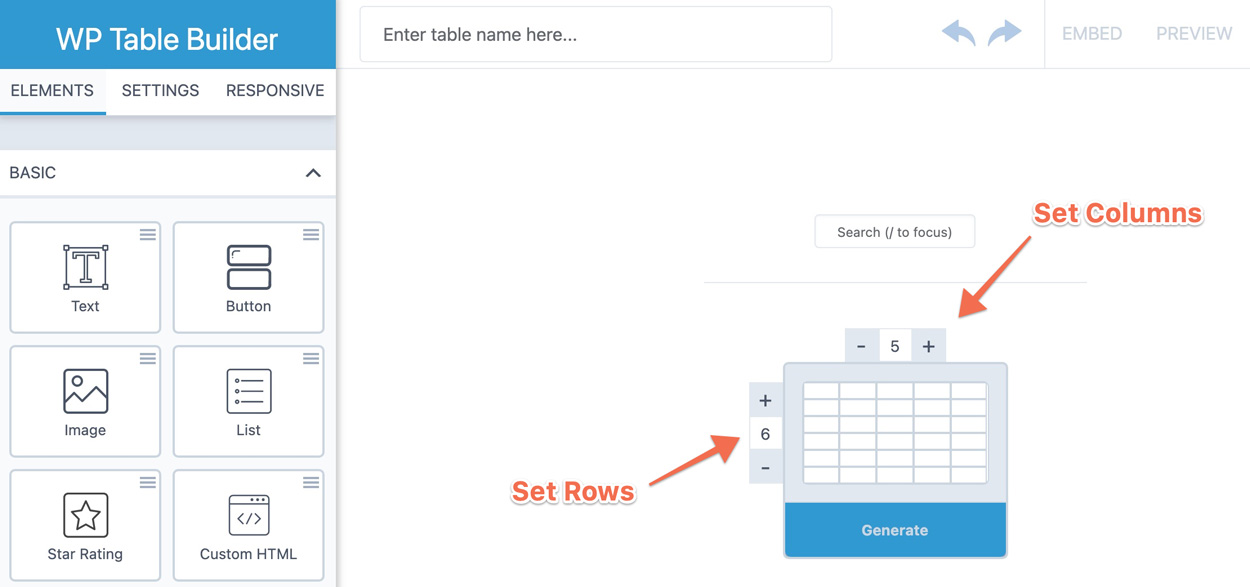
Don’t worry, you can also remove and add more later. While you’re here, you can also set in your table name.
Step 4: Add Headings
Add heading by simply using a “text module”. You can bold, italicize, link, and align your text too.
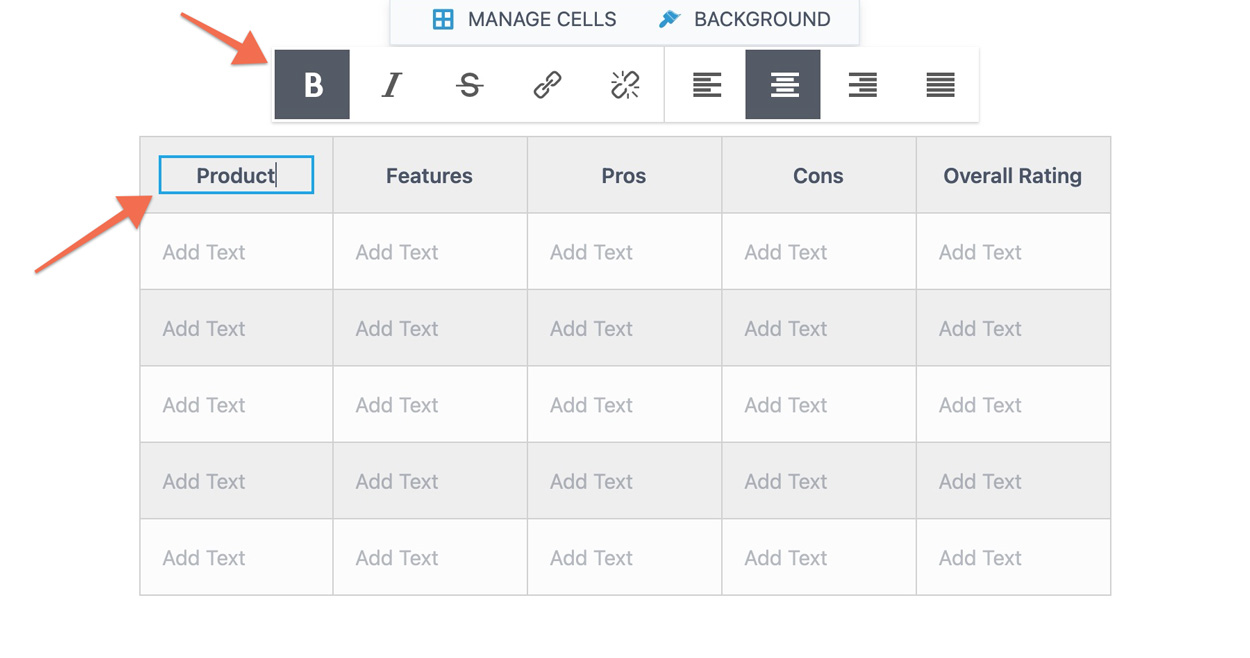
Step 5: Add Products + Images
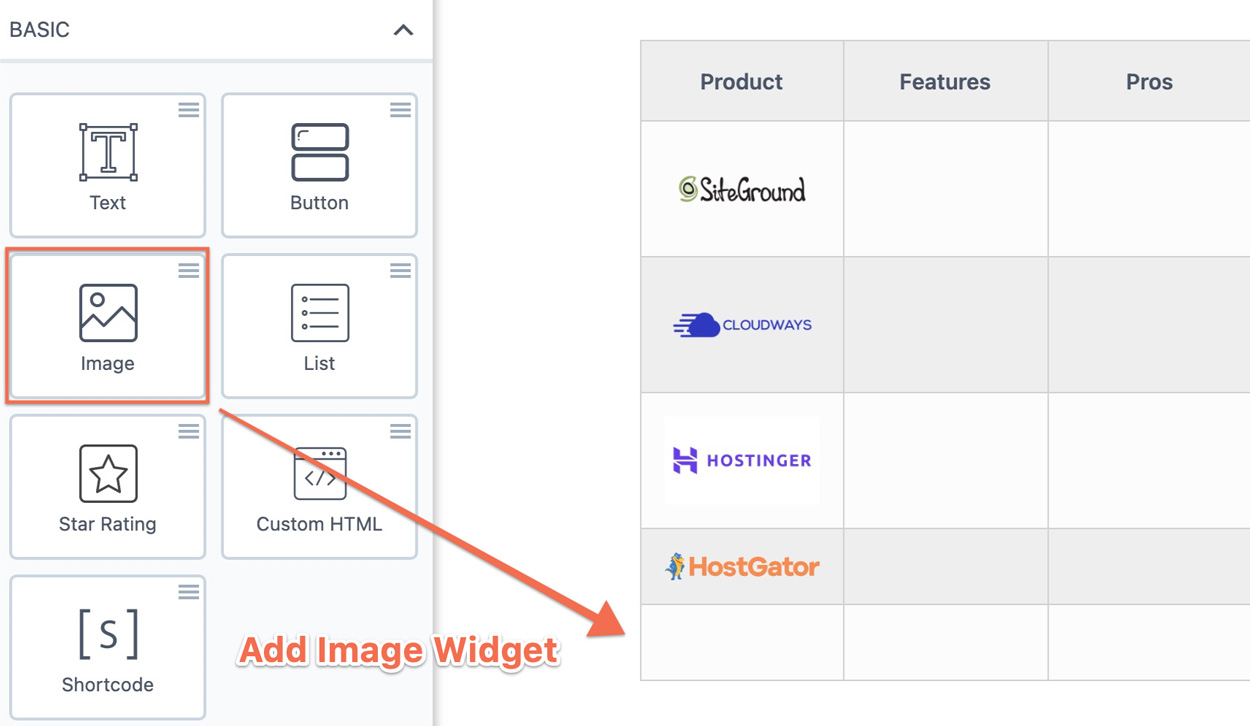
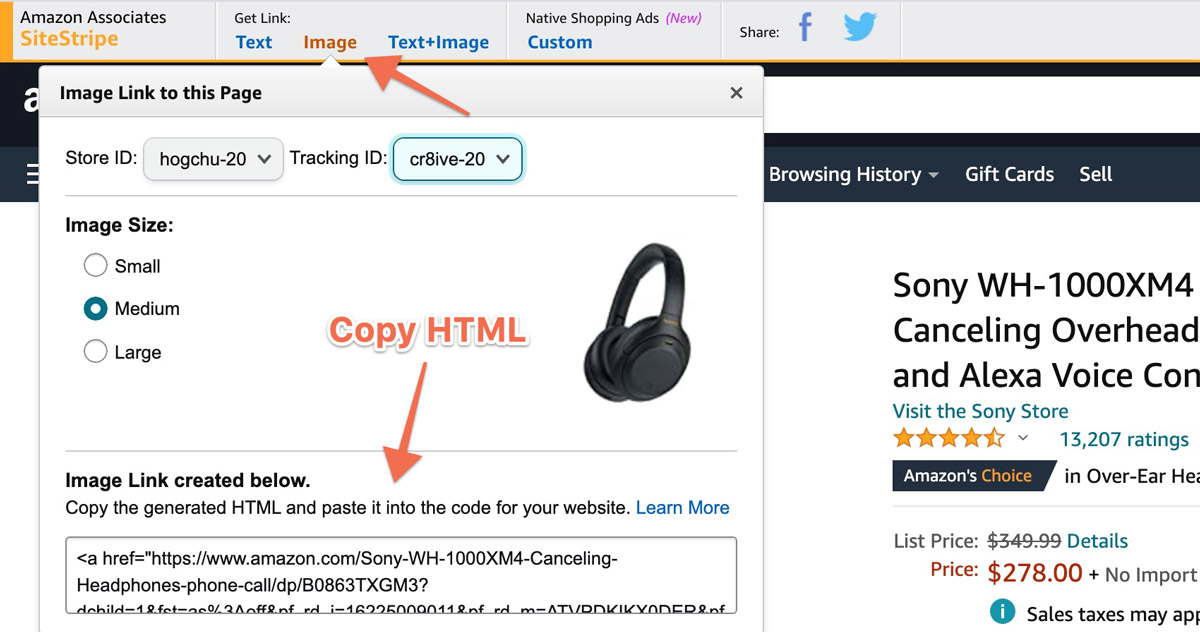
For Amazon Affiliate Links & Products: Unlike AAWP, this plugin doesn’t integrate with Amazon API, so you will need to manually add your Amazon image & affiliate link using the Sitestripe HTML and paste it into the “Custom HTML” widget.
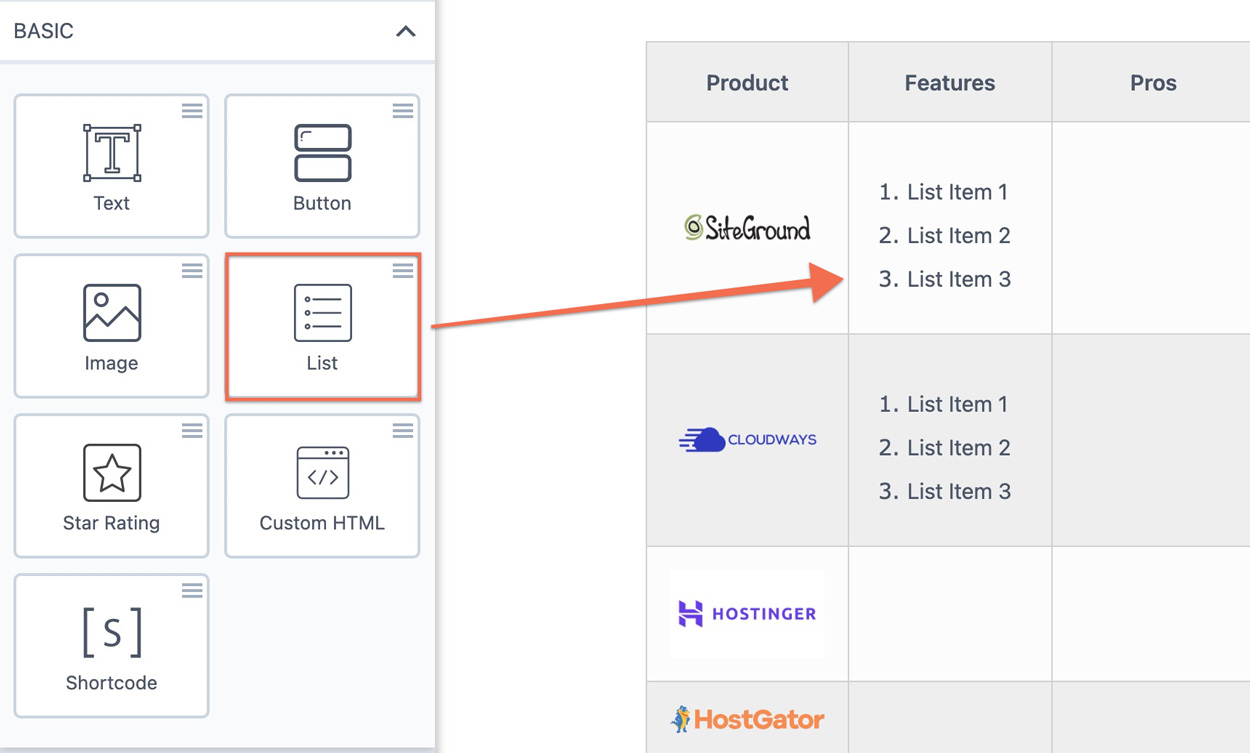
Step 6: Add Lists to Table
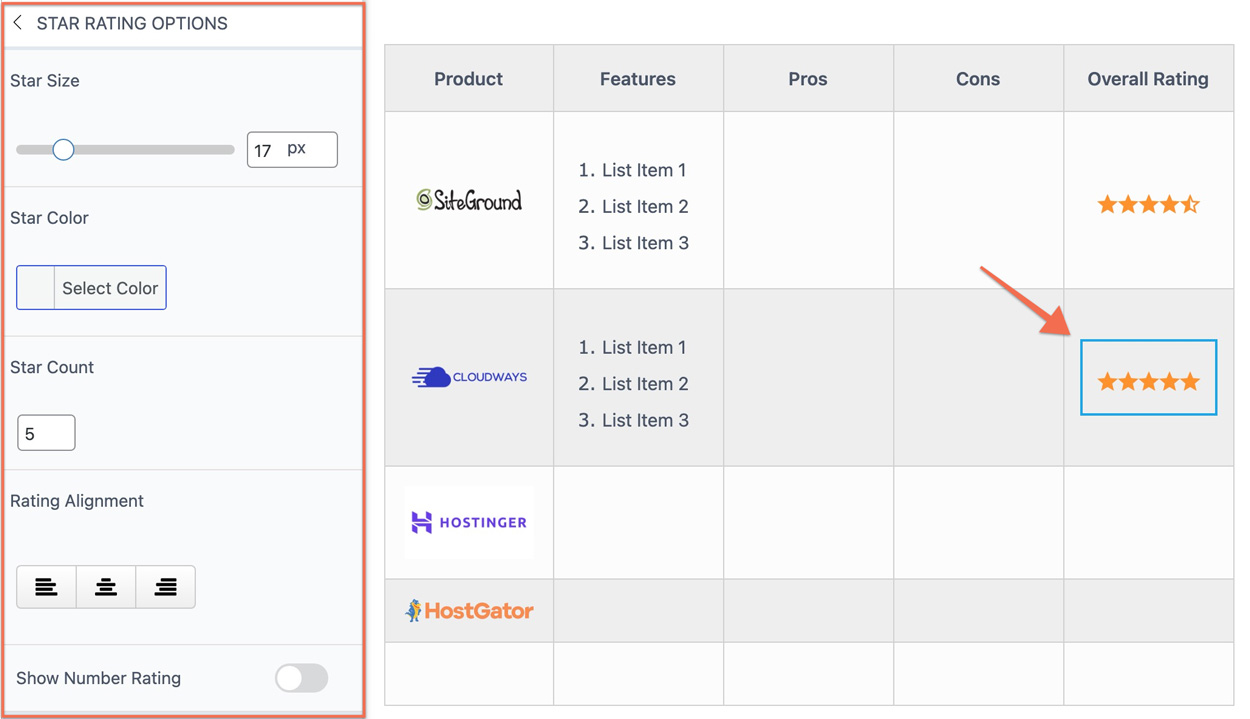
Step 7: Add Star Ratings
You can change the size, colour, star count, alignment and show the number rating.
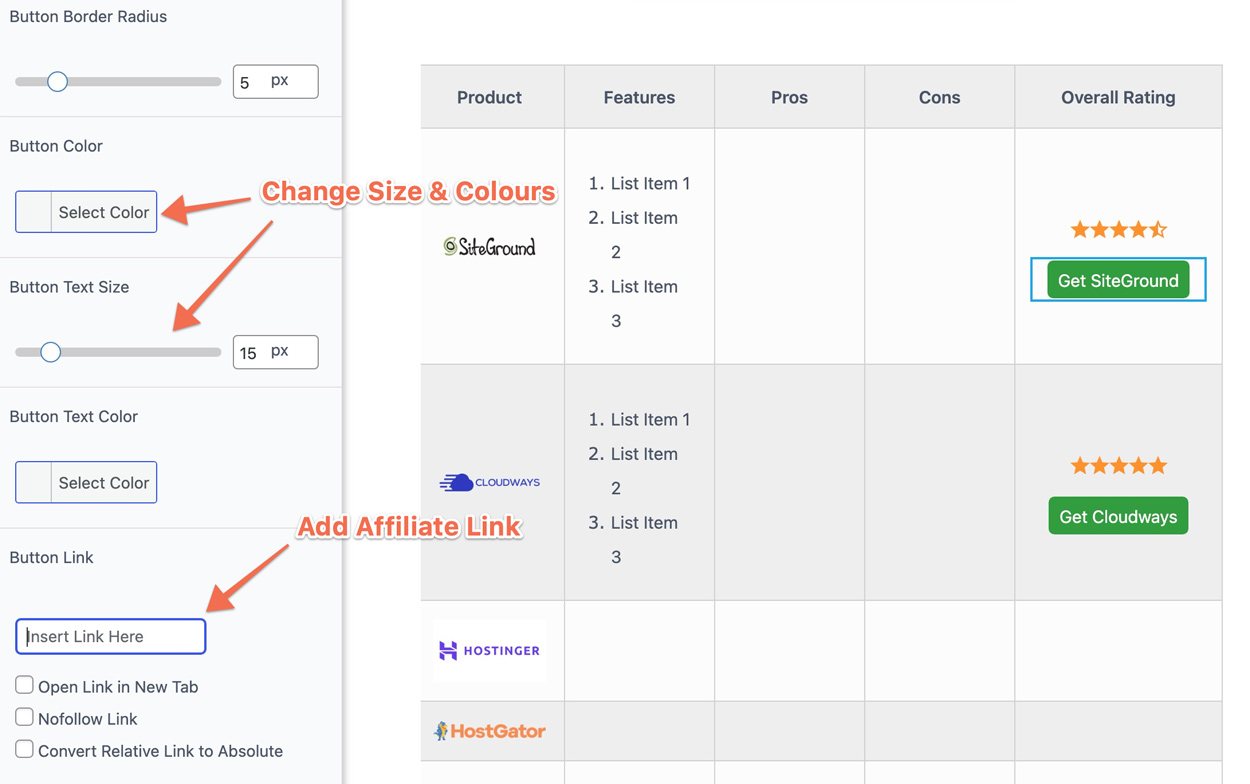
Step 8: Add Button & Links (Affiliate Links)
Here you can link people to your product pages or you can enter your affiliate link. There is also an option to set it to open in a new tab and also to nofollow that link (great for affiliate marketers).
Step 9: Styling Colours
You can adjust the header background colours, the rows and also select a custom area you’d like to change the colour for.

Another essential function is the ability to edit the column width. This is important because sometimes the text or images may not fit.
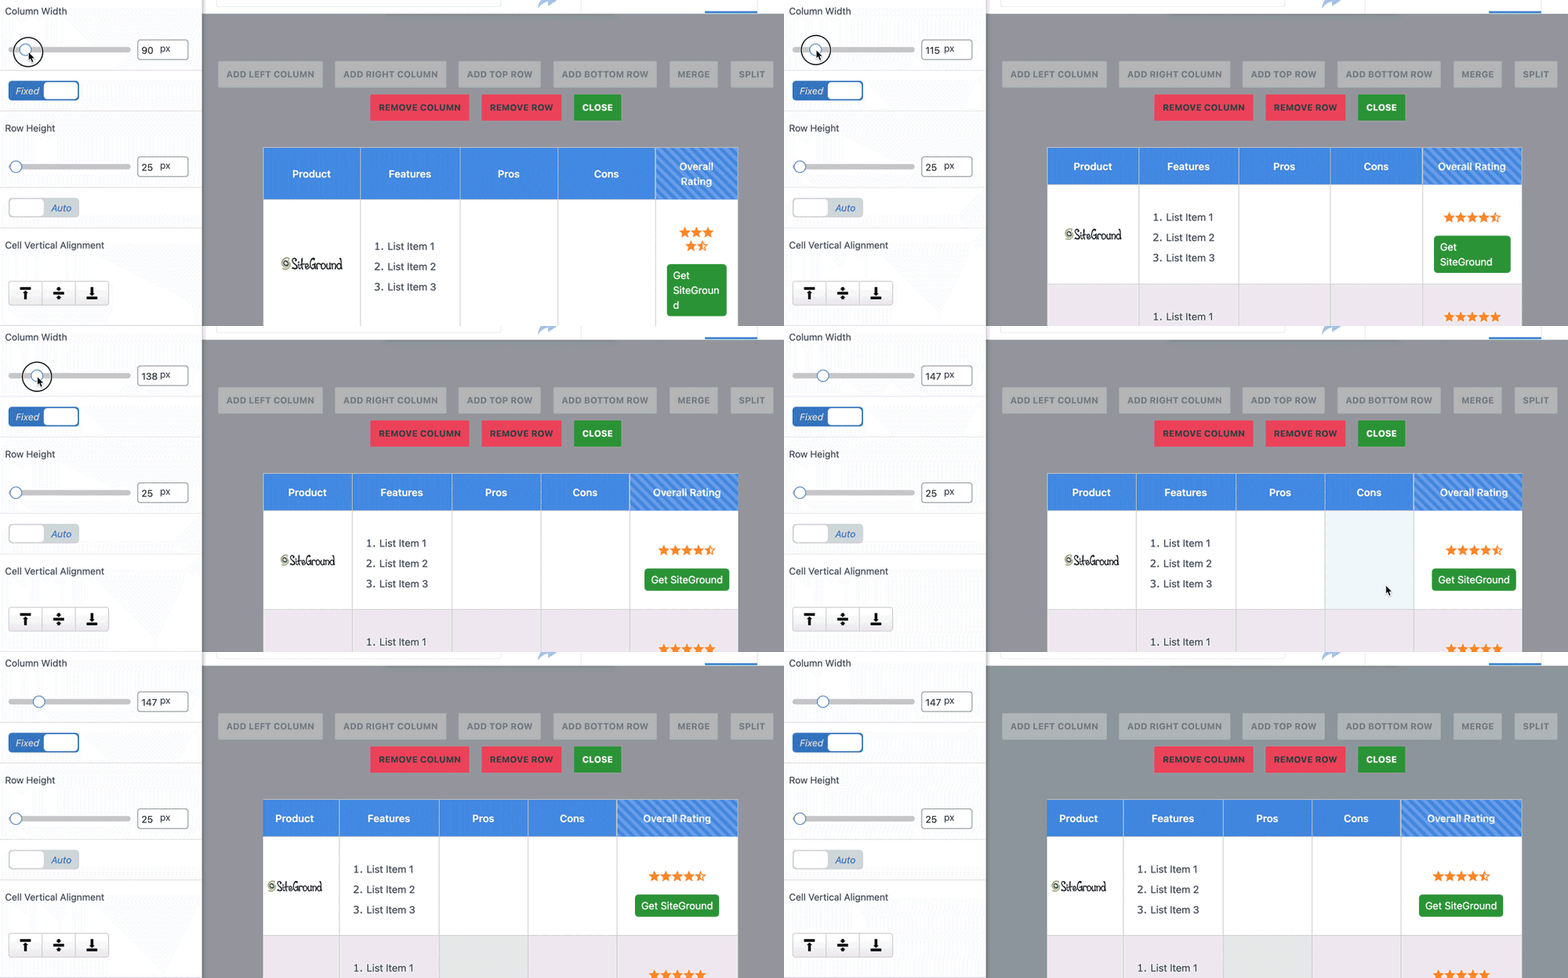
Step 10: Preview & Embed
To display your table, you just need to click the “embed” on the top right corner and it will generate a shortcode. You can paste this shortcode on any page, post, or text module (For page builders).

Additional documentation for customization can be found here.
See Other Demo Tables: https://wptablebuilder.com/demo-tables/
How to Make Your Table Responsive
Step 1: Navigate to the “Responsive” Tab
Step 2: Enable Responsive Table
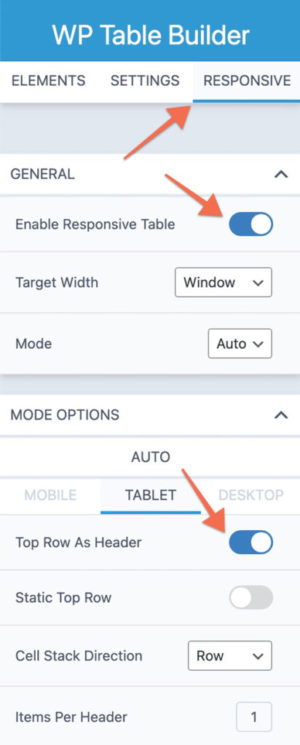
Step 3: Set “Top Row as Header”
A Look at the PRO Version of WP Table Builder
While you can certainly do a lot with the Free version, you get even more functionalities on their PRO version.
Top 5 Features
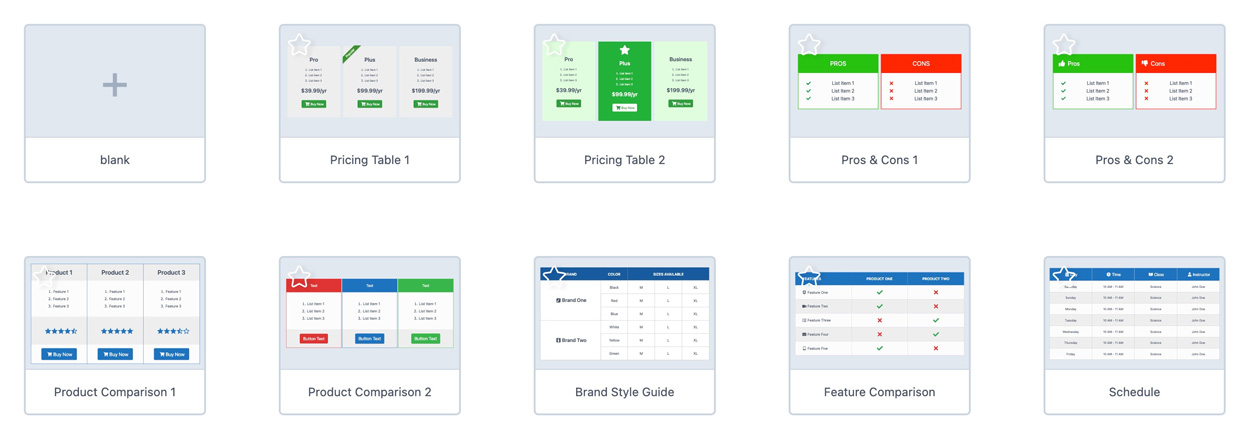
#1 Pre-Built Templates + Use own table as a template
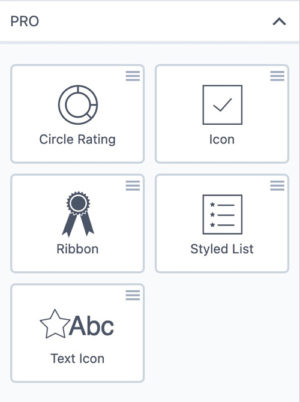
#2 PRO Elements (Ribbons, Icons, Circle Rating & Styled Lists)
#3 Sorting & Ordering (Go to Settings > Sort Vertically)
#4 Add Tooltips
Perfect for displaying extra information without taking up more space.

#5 Priority Support & Updates
Perfect for those who need extra help in customizing their tables.
If you have any questions, drop them below!
August 4, 2021 @ 5:50 am
Hey Hogan,
Are you also experiencing issues with using table of contents plugins on themify? I feel like the plugins have always been working, but ever since I started using Themify the table of contents simple just disappear.
Best regards,
Ahmed.
August 12, 2021 @ 6:09 pm
Hey! Hogan
I am big fan of yours its only because of you I was able to start my own website, all thanks to you. its pretty new I have just added two posts but I am working on it. Yesterday I was suffering to add a product comparison table to my site and couldn’t find a way eventually I end up posting an image of summary table. Ironically i find this post today but I don’t think this is gonna work for me because themify never allows me to add anything from external source even if i open a post in wp editor its completely wrapped inside themify column. Is it possible to use additional functionalities if the post is created with themify?